Contents
 I. Introduction
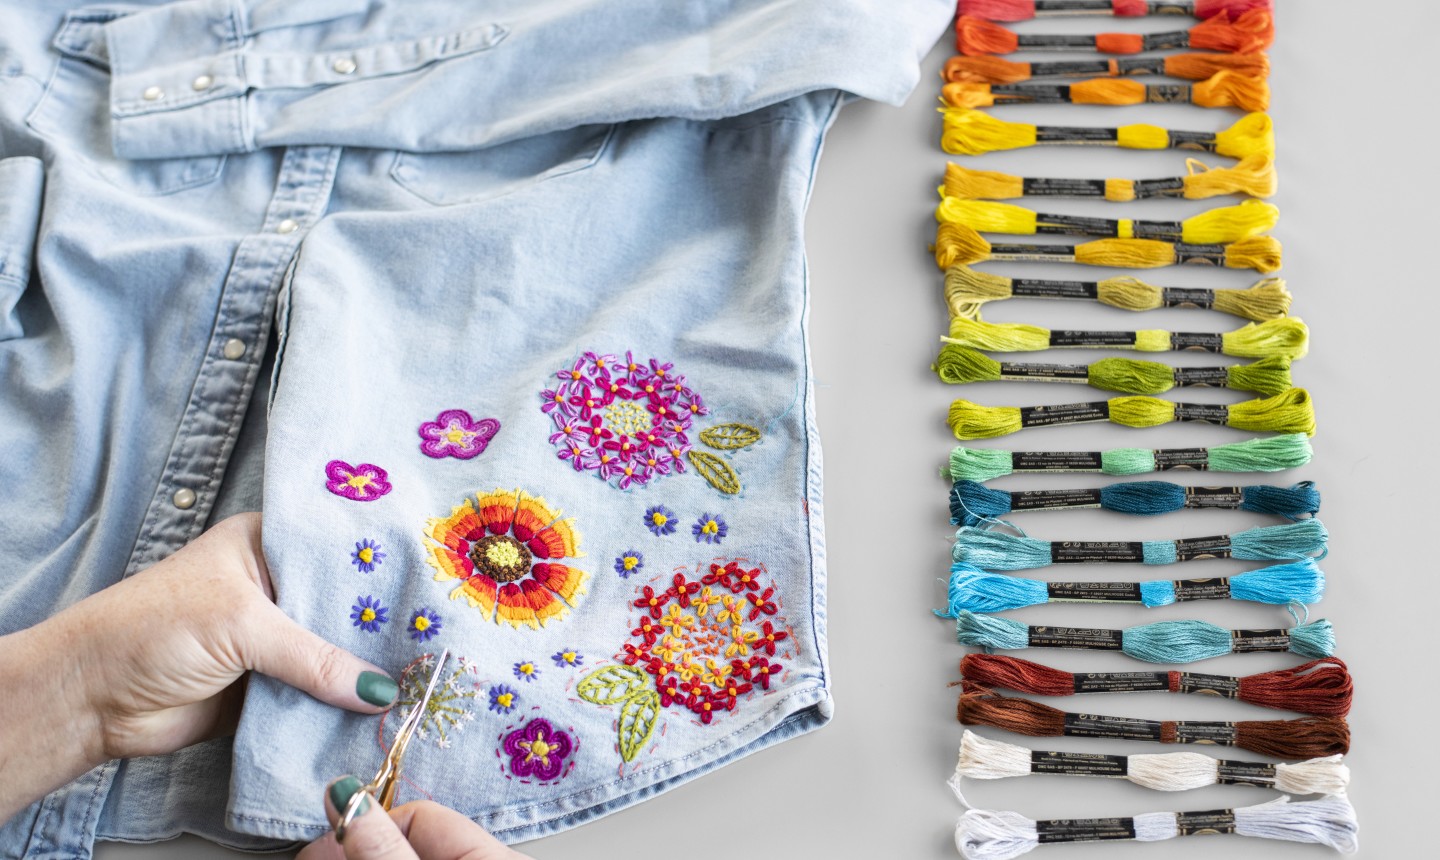
In the realm of fashion, denim has long reigned supreme, offering a versatile canvas for self-expression and personal style. Among the myriad denim designs, embroidered jeans stand out as a bold and eye-catching statement piece. Emblazoned with intricate designs and vibrant colors, these jeans have transcended the boundaries of mere apparel, becoming a cultural emblem and a fashion staple.
A. Brief Overview of Embroidery
Embroidery, the art of adorning fabrics with needle and thread, has graced textiles for centuries. Its origins can be traced back to ancient civilizations, where it served not only as a decorative embellishment but also as a means of storytelling and cultural expression. Over time, embroidery evolved into a refined craft, employing various techniques and materials to create intricate designs of unparalleled beauty.
B. History of Embroidery on Jeans
The incorporation of embroidery into denim wear dates back to the 1970s when counterculture movements embraced jeans as a symbol of rebellion and individuality. Artisans and designers began embellishing jeans with hand-stitched embroidery, transforming them into unique and personalized garments. This trend gained momentum in the 1980s and 1990s, fueled by hip-hop culture and streetwear brands that popularized bold and eye-catching embroidery designs.
C. Significance of Embroidered Jeans
Embroidered jeans have transcended their role as mere clothing items, becoming cultural icons that embody self-expression, creativity, and a sense of individuality. They have adorned the bodies of musicians, artists, and fashion enthusiasts, serving as a visual representation of their unique style and personalities. Beyond their aesthetic appeal, embroidered jeans hold historical significance, reflecting the evolution of fashion trends and the enduring influence of streetwear culture.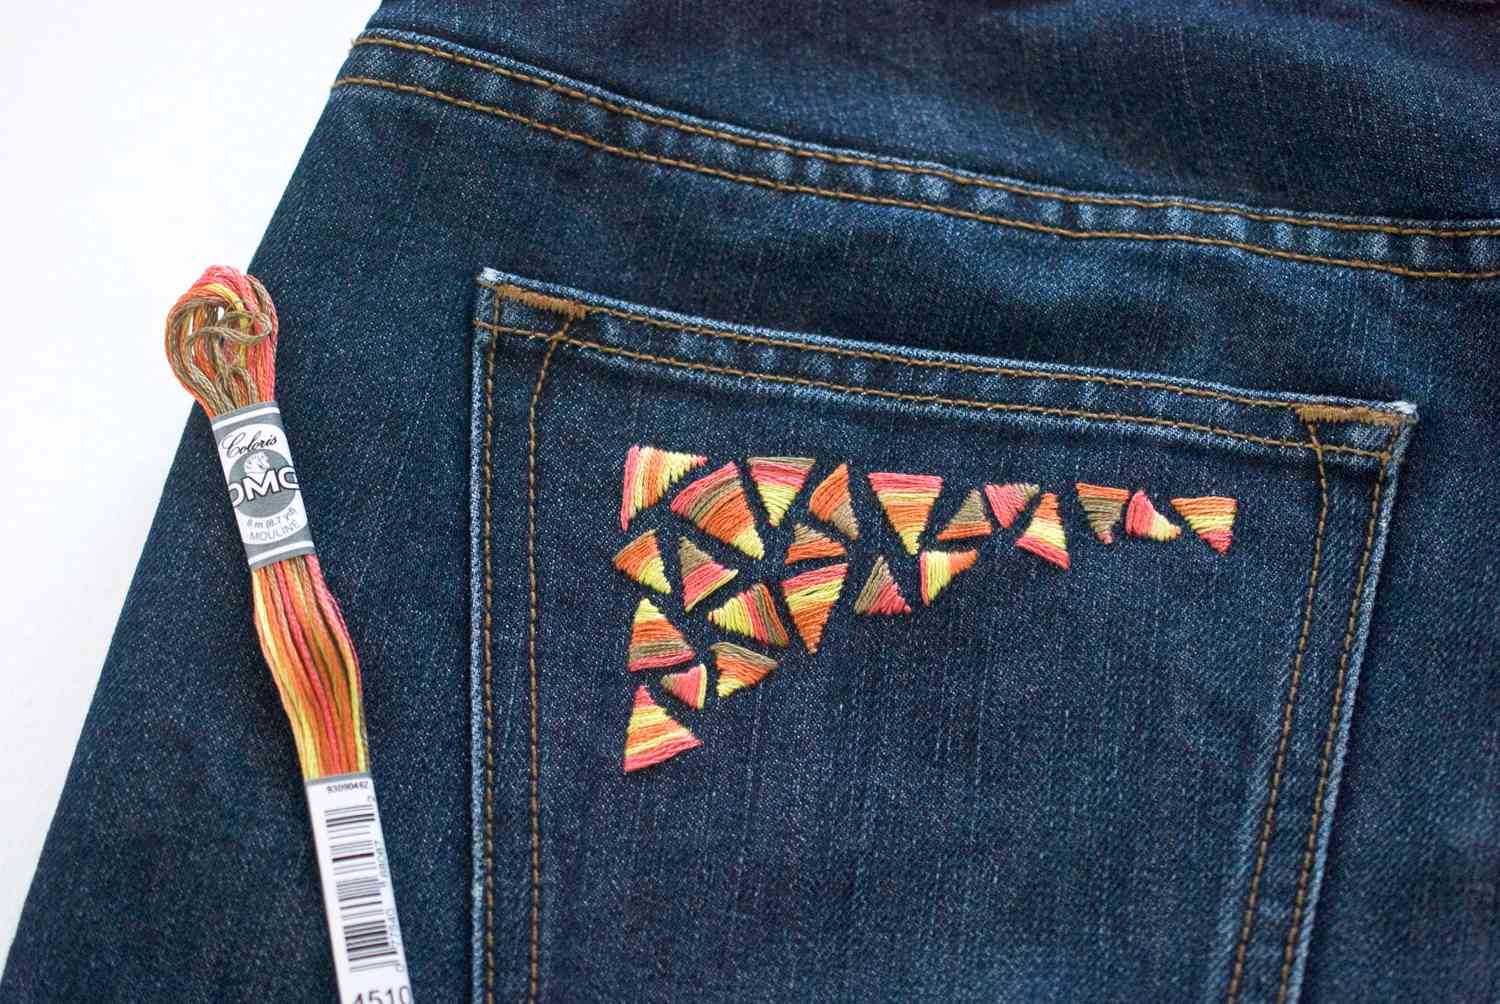
II. Gathering Materials and Tools
Before embarking on your embroidery journey, it’s essential to gather the necessary tools and materials to ensure a smooth and enjoyable experience.
A. Embroidery Needles
Embroidery needles come in various sizes, each suited for different thread weights and fabric types. For denim embroidery, opt for needles in the size range of 7 to 10. These needles are sturdy enough to penetrate the thick denim fabric without causing damage.
B. Embroidery Floss
Embroidery floss, also known as embroidery thread, is the colorful material that brings your designs to life. Choose floss made from high-quality materials like cotton or rayon for durability and colorfastness. Consider the color palette of your design when selecting floss shades.
C. Embroidery Hoop
An embroidery hoop is a circular frame that holds the fabric taut while you embroider. It provides a stable work surface, preventing the fabric from bunching or wrinkling, and ensures precise stitch placement. Choose a hoop size that is slightly larger than the design area.
D. Fabric Pen or Tailor’s Chalk
A fabric pen or tailor’s chalk is used to transfer the embroidery design onto the jeans. Fabric pens are temporary markers that disappear with washing, while tailor’s chalk is a erasable powder that can be brushed away.
E. Scissors
Scissors are essential for trimming thread ends and cutting out stabilizer or interfacing. Opt for sharp scissors with fine points to ensure precise cuts.
III. Choosing the Embroidery Design
The design you choose will set the tone for your embroidered jeans, so it’s crucial to select one that reflects your personal style and the desired placement on the jeans.
A. Finding Inspiration
Inspiration for embroidery designs can be found in abundance. Browse online galleries, magazines, and social media platforms for ideas. Consider patterns, motifs, symbols, or even phrases that resonate with you.
B. Skill Level Consideration
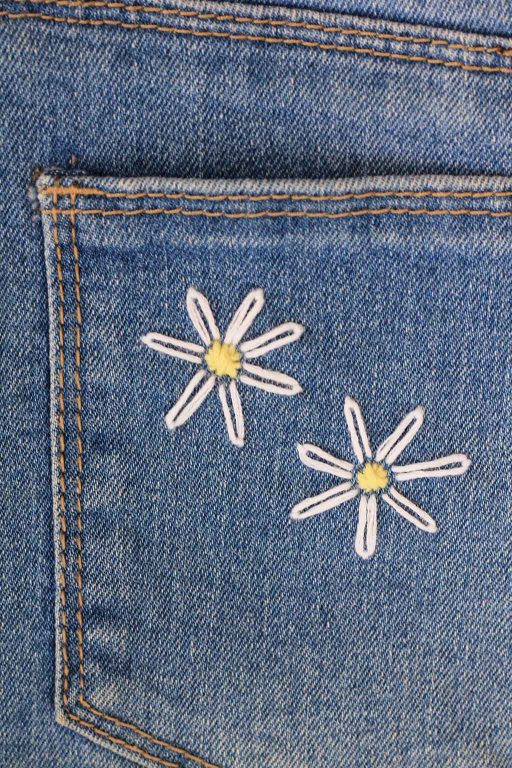
If you’re a beginner, start with simple designs that use basic embroidery stitches like the chain stitch or backstitch. As your skills progress, you can venture into more intricate designs and complex stitch techniques.
C. Design Size and Placement
Consider the size of the design in relation to the available space on the jeans. Larger designs may be better suited for back pockets or jacket backs, while smaller designs can be placed on cuffs, belt loops, or front pockets.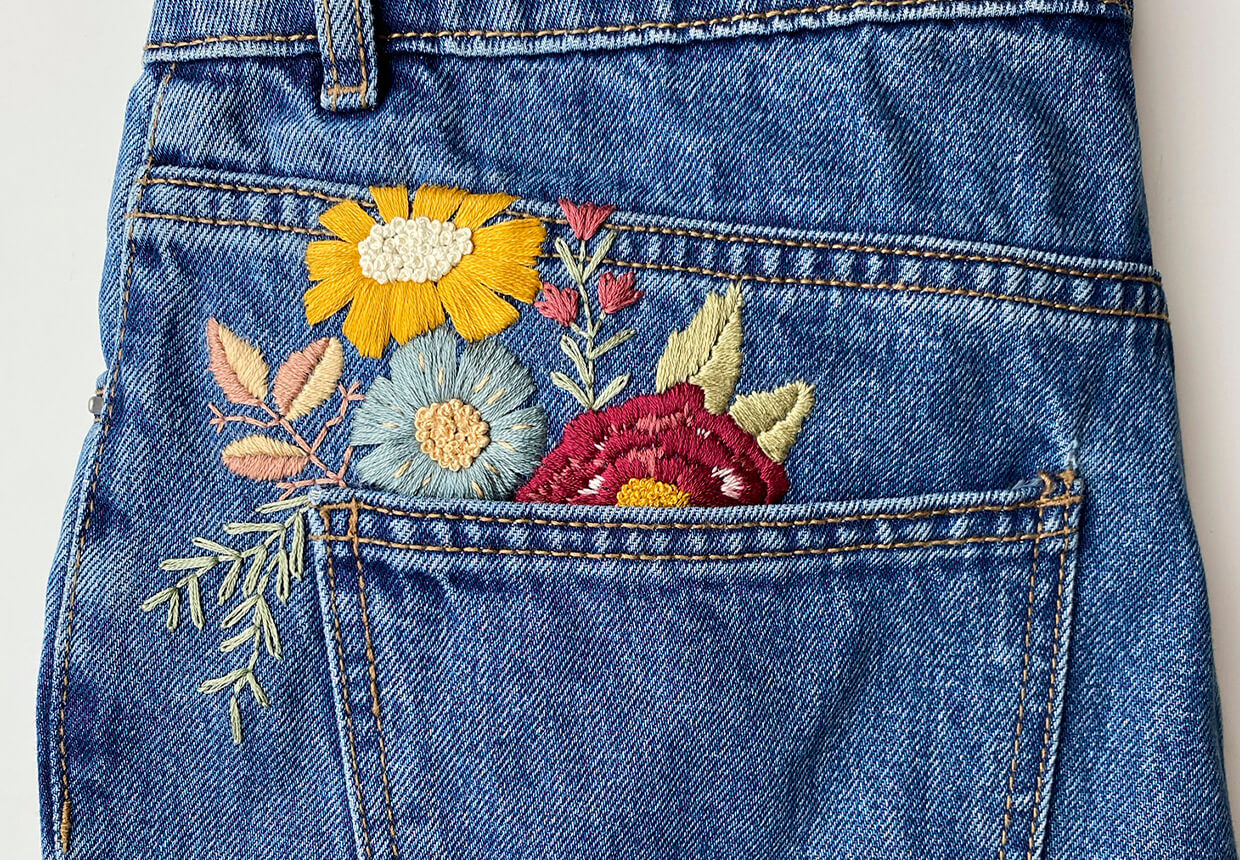
IV. Transferring the Design onto the Jeans
With your chosen design in hand, it’s time to transfer it onto the jeans.
A. Tracing the Design
Place the jeans on a flat surface and position the design paper or template over the desired placement area. Using a fabric pen or tailor’s chalk, carefully trace the outlines of the design onto the denim.
B. Design Positioning
Ensure the design is positioned correctly and centered. Use a ruler or measuring tape to check for symmetry and balance.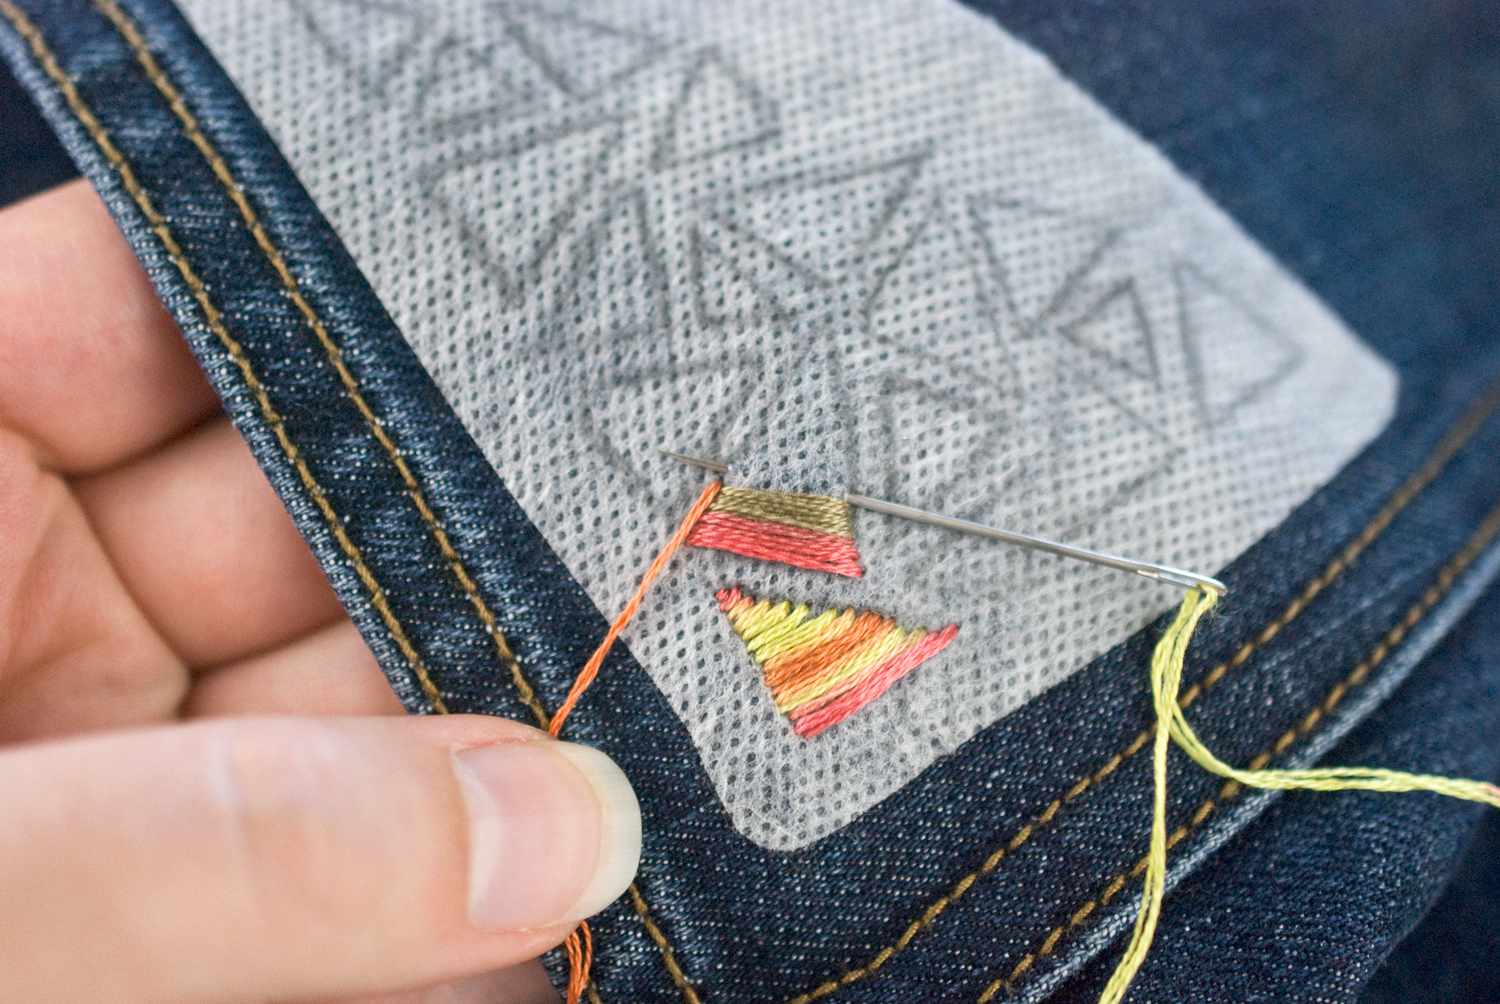
V. Embroidering the Design
Now comes the exciting part – bringing your design to life with needle and thread!
A. Threading the Needle
Cut a length of embroidery floss, around 18 to 24 inches long. Thread the needle with the floss, leaving a tail of about 3 inches at the end. There are various methods for threading a needle, so choose one that feels comfortable for you.
B. Choosing Stitches
Embroidery boasts a vast array of stitches, each offering unique textures and visual effects. For beginners, starting with basic stitches like the chain stitch or backstitch is recommended. These stitches are relatively simple to learn and create a clean, secure foundation for your design.
C. Following the Design Outline
Carefully follow the traced design outline while stitching. Maintain a consistent tension on the thread to create even stitches. Don’t worry if your stitches aren’t perfect at first – practice makes perfect!
D. Adding Texture and Dimension
Once you’ve mastered basic stitches, explore more advanced techniques like satin stitch, French knots, or lazy daisy stitch. These stitches can add texture, dimension, and visual interest to your design.
E. Securing Loose Ends
After finishing each section of your design, secure loose thread ends by weaving them under existing stitches or tying a small knot on the backside of the fabric. Trim the excess thread close to the knot with your scissors.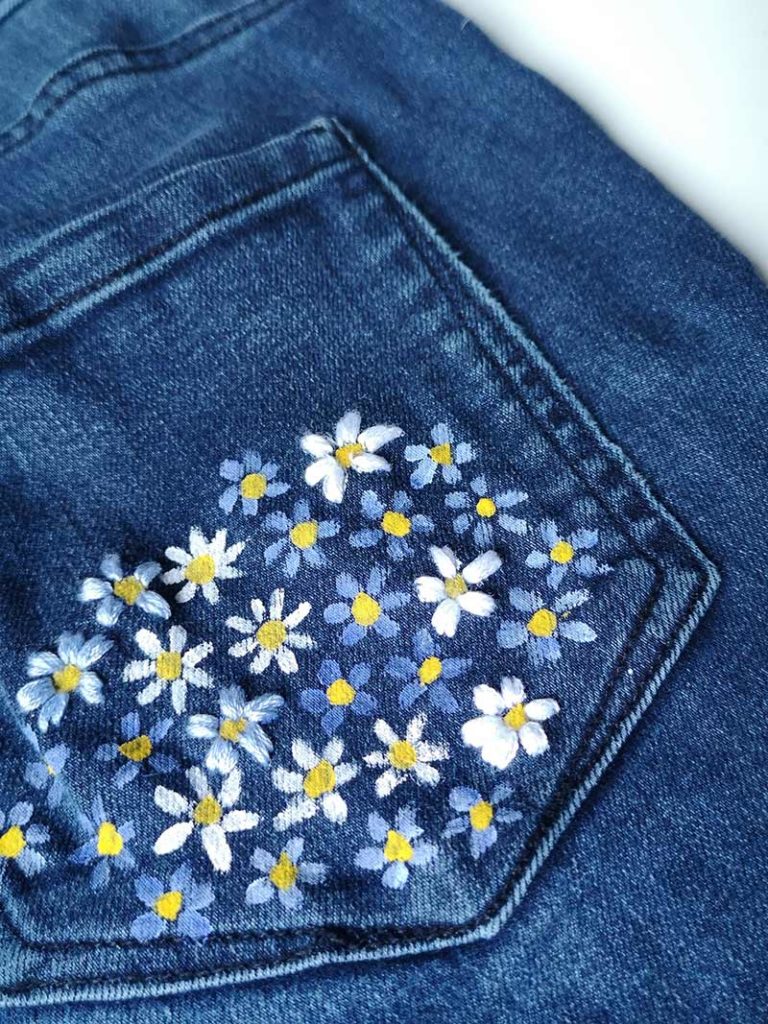
VI. Finishing Touches
With your design complete, it’s time to add those final touches that make your creation truly stand out.
A. Trimming Excess Thread
Carefully trim any remaining thread ends close to the fabric surface using your sharp scissors.
B. Ironing
Turn the jeans inside out and place a pressing cloth over the embroidered area. Iron on a low heat setting to set the stitches and remove any wrinkles caused by embroidery.
C. Embellishments
For an extra touch of flair, you can add embellishments like beads, sequins, or buttons to your design. Ensure the embellishments are securely attached to avoid snagging or falling off.
VII. Caring for Embroidered Jeans
To ensure your embroidered jeans stay vibrant and beautiful for years to come, proper care is essential.
A. Washing Instructions
Turn the jeans inside out and wash them on a gentle cycle with cold water. Avoid using harsh detergents or bleach, as they can damage the embroidery floss and fade the colors.
B. Drying
Air-drying is the preferred method for embroidered jeans. However, if using a dryer, choose the lowest heat setting to prevent shrinkage and damage to the embroidery.
C. Ironing
Always iron embroidered jeans inside out on a low heat setting. Use a pressing cloth over the embroidery to protect it from direct heat.
D. Storage
Store your embroidered jeans neatly folded in a cool, dry place. Hanging them can cause the fabric to stretch and sag over time, potentially distorting the embroidery.
VIII. Tips for Embroidering on Different Denims
Denim comes in various weights and textures, each requiring slight adjustments to your embroidery technique.
A. Thicker Denims
For heavy denim fabrics, opt for thicker needles (size 10 or above) and stronger embroidery floss to prevent breakage. You can also use a thimble to protect your finger from needle pricks while you stitch.
B. Stabilizing the Fabric
Heavy denim can be more challenging to work with due to its thickness. Consider using stabilizer or interfacing on the backside of the fabric before embroidering. This provides stability and prevents the denim from distorting or puckering while you stitch.
C. Taking Breaks
Embroidering on denim can be more strenuous on your hands and arms compared to lighter fabrics. Take regular breaks to avoid fatigue and ensure consistent stitch tension throughout your design.
D. Experimentation
Embrace the creative process! Experiment with different embroidery stitches, thread colors, and embellishments to personalize your jeans and create unique masterpieces.
IX. Troubleshooting Common Embroidery Problems
Even seasoned embroiderers encounter occasional challenges. Here are solutions to some common problems you might face:
A. Knots in the Thread
Knots in the thread can disrupt your stitching flow. Rethread the needle, ensuring the thread isn’t twisted or knotted before attempting to stitch again.
B. Uneven Stitches
Maintaining consistent stitch tension is crucial for a neat and professional look. Practice your chosen stitch beforehand to ensure consistent stitch length and tension.