When measuring wood, fabric, walls, or metal, accuracy depends on knowing how to read tape measure increments correctly. These small markings are more than just lines—they form a precise system that allows users to record exact lengths down to fractions of an inch or millimeters. Whether you’re building a shelf, installing flooring, or sewing curtains, misreading these marks can lead to costly mistakes.
Tape measure increments vary by region and use. In the United States, most tapes display imperial units with fractions like 1/16″, 1/8″, and 1/4″. Elsewhere, metric systems show centimeters and millimeters. Dual-scale tapes include both, offering flexibility. Each increment serves a purpose, from rough estimates to fine craftsmanship. Learning to interpret them ensures reliable results every time. As more people take on home projects, understanding tape measure increments has become a fundamental skill.
Contents
- Imperial System Basics
- Metric System Layout
- Reading Fractional Measurements
- Dual-Scale Tapes and Conversion Tips
- Common Mistakes When Reading Increments
- Specialty Increments and Features
- Maintenance and Care for Accuracy
- Frequently Asked Questions About Tape Measure Increments
- Final Thoughts: Mastering Tape Measure Increments
 Imperial System Basics
How Inches and Fractions Are Marked
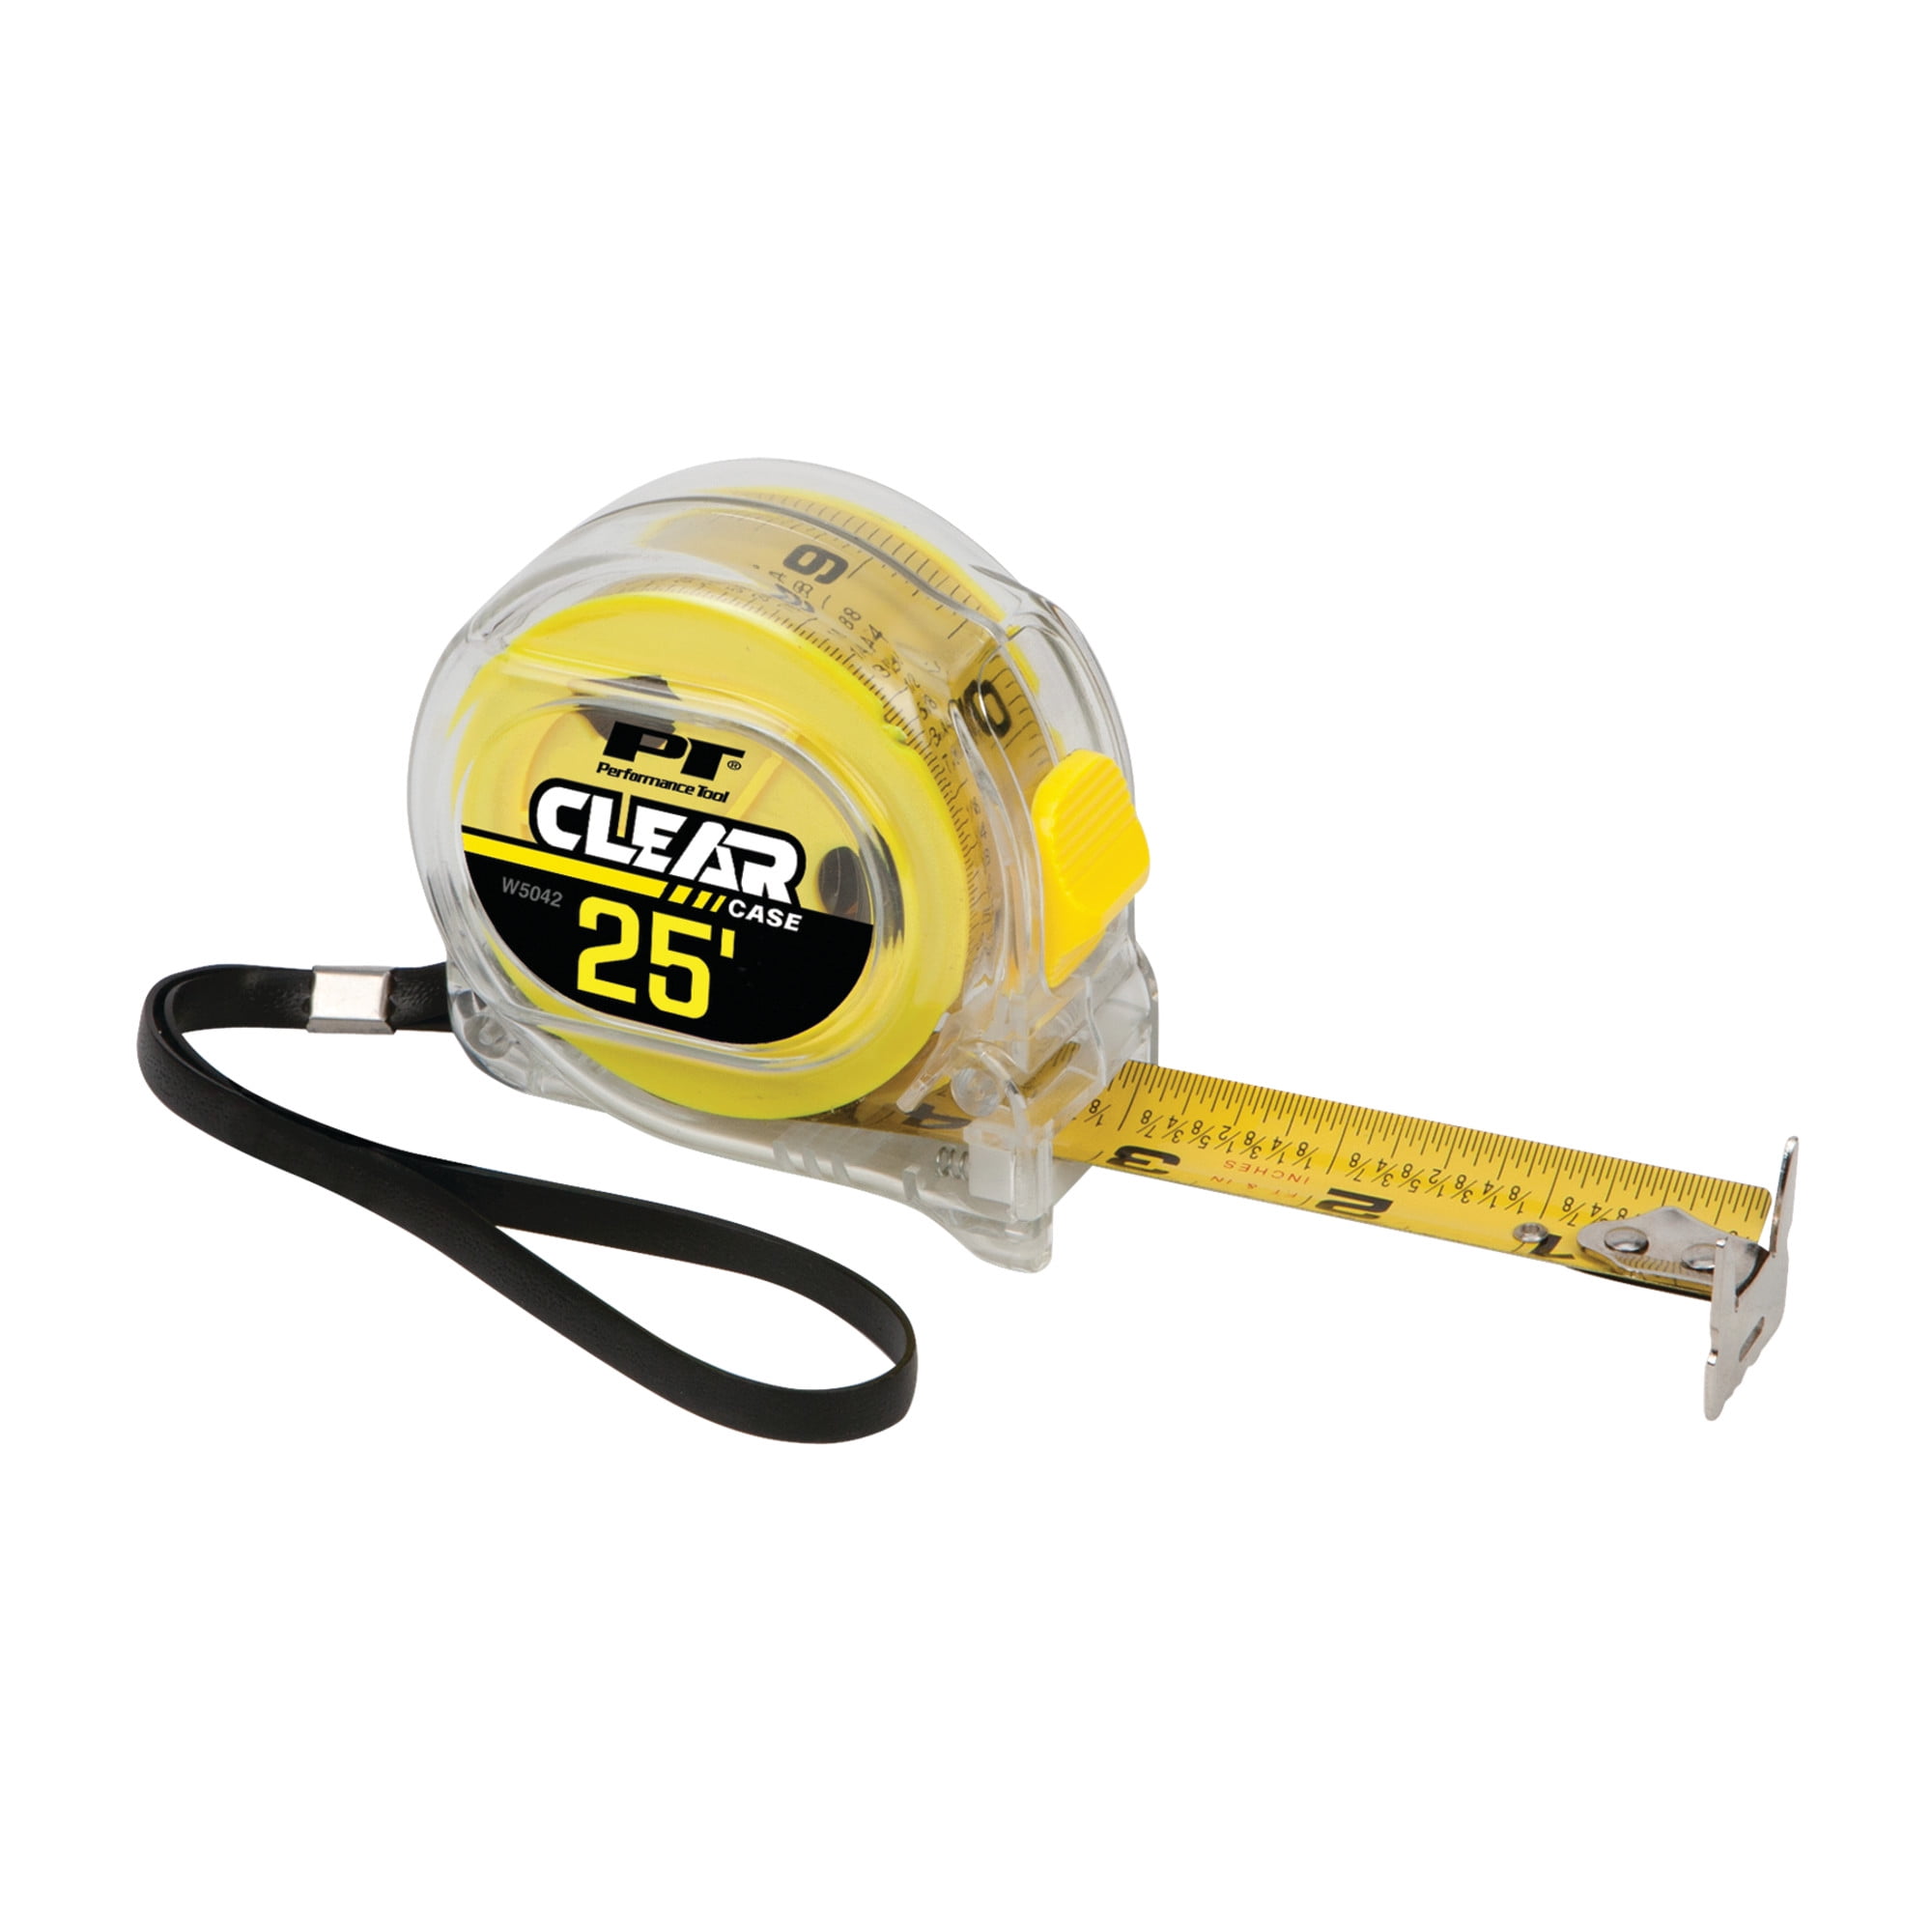
The imperial side of a tape measure divides each inch into smaller parts. The longest line always represents one full inch. It usually carries a number.
Next, the second-longest lines mark half-inches. They appear at the center of each inch. These are easy to spot and commonly used in basic measurements.
Quarter-inch marks are shorter. They fall at 1/4 and 3/4 within each inch. Their length helps distinguish them from smaller divisions.
Eighth-inch increments come next. These appear between quarter marks. They allow more precision in carpentry and framing.
Sixteenth-inch lines are the shortest on most tapes. They fill the gaps between eighth-inch marks. This level of detail matters in cabinetry and trim work.
Some specialty tapes go further. Thirty-second and sixty-fourth-inch marks exist for high-precision tasks. These are rare in standard models.
Red numbers often highlight 16-inch intervals. These indicate stud spacing in wall framing. Contractors rely on this feature daily.
Learning to count each increment prevents confusion. Start from zero and move forward slowly. Stop at the correct line.
With practice, reading tape measure increments becomes automatic.
Metric System Layout
Centimeters and Millimeters Explained
Outside the U.S., most tape measures use the metric system. Its structure is simpler due to decimal-based divisions.
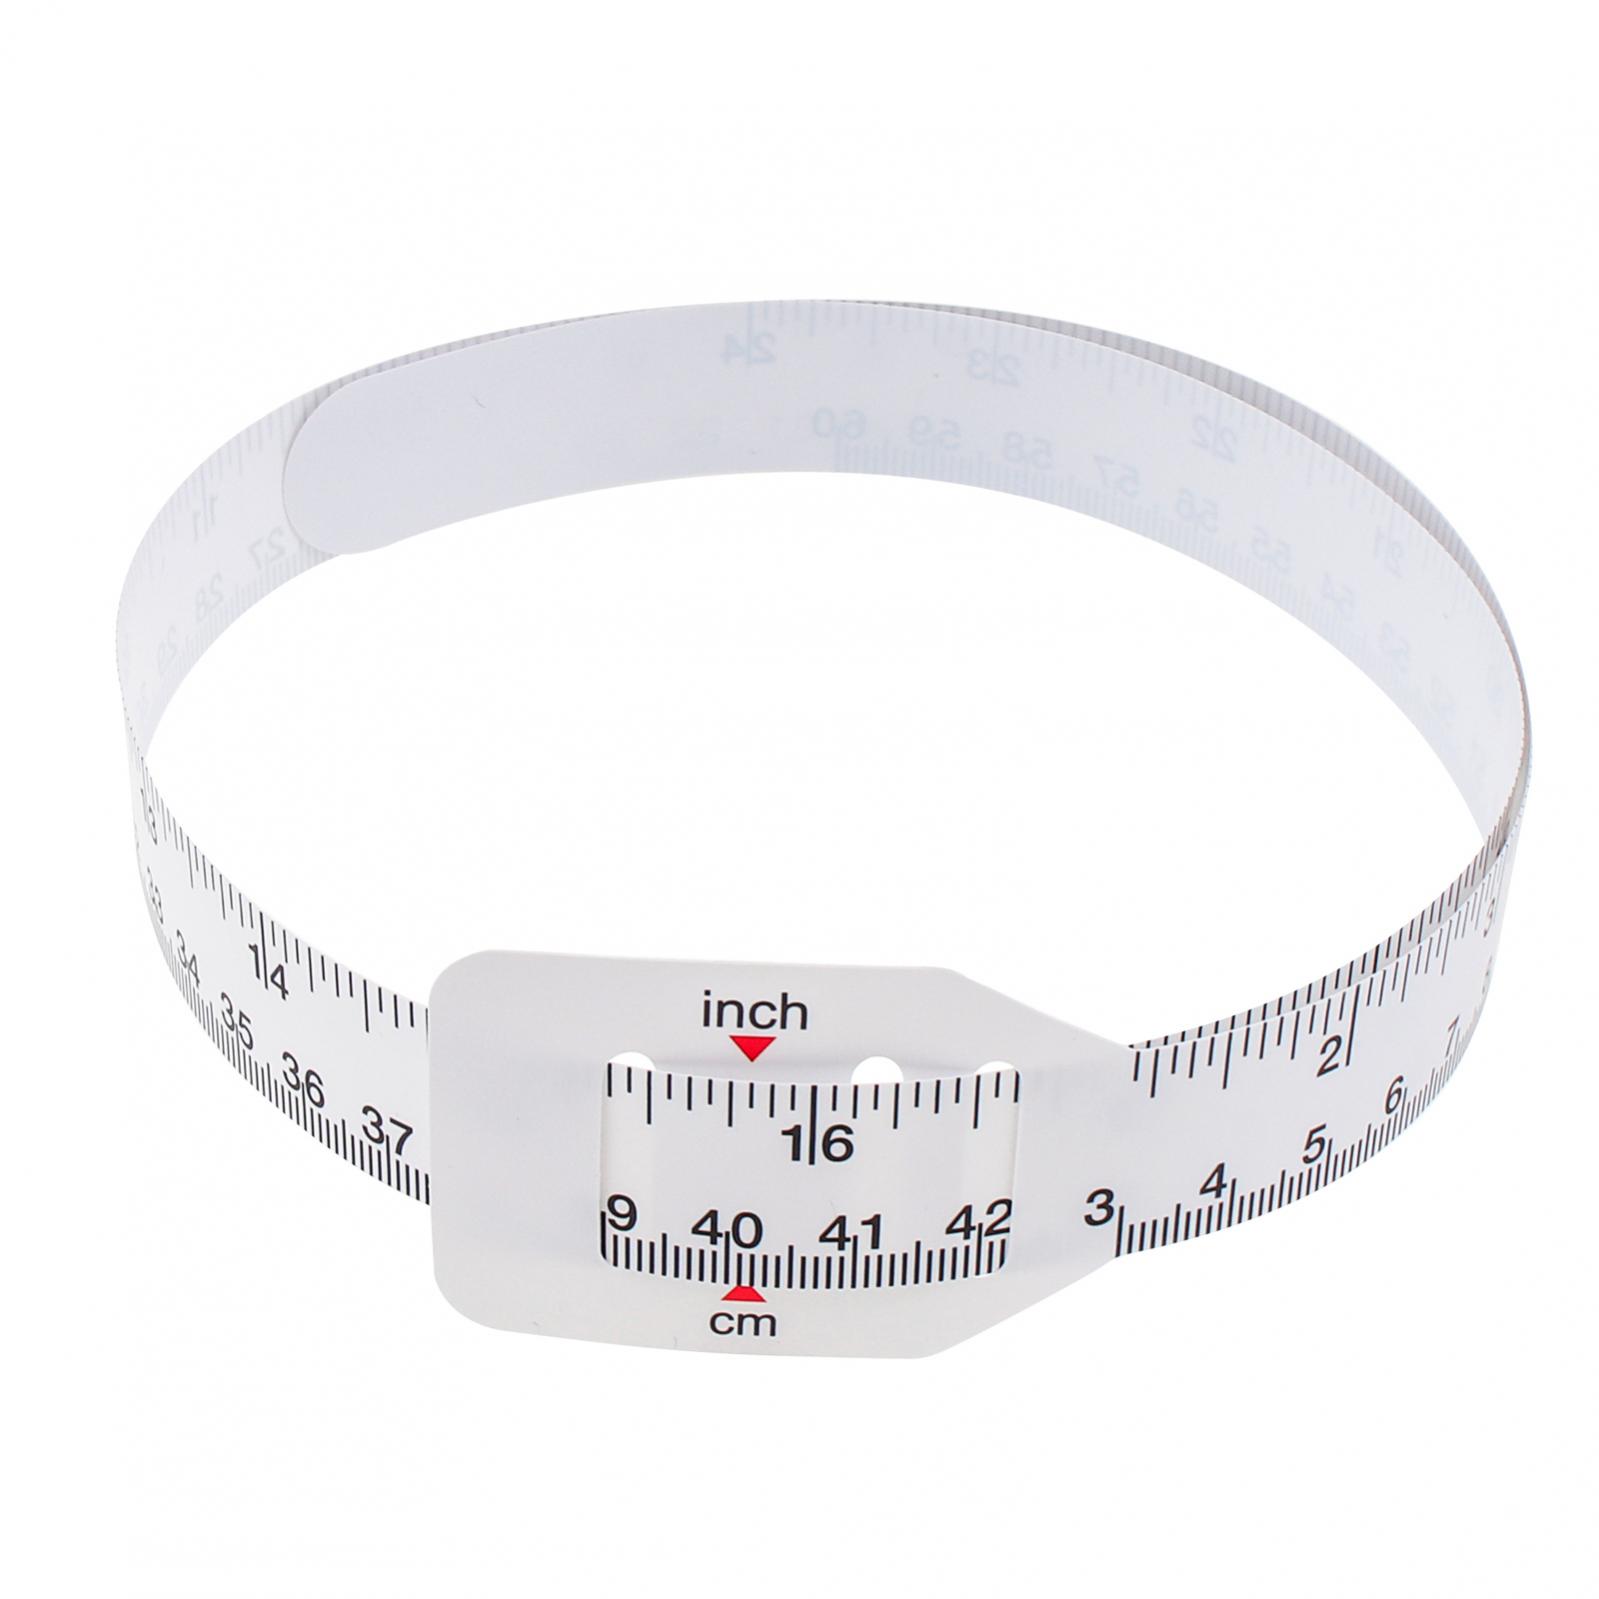
Each large number stands for one centimeter. These are spaced 10 millimeters apart. The longest lines represent them.
Smaller lines between centimeters show millimeters. There are nine per centimeter. They allow accurate readings down to 1 mm.
Every fifth millimeter may have a slightly longer mark. This aids quick counting. Some tapes also label every five or ten centimeters.
Unlike imperial fractions, metric uses no denominators. This makes math easier. Adding 25 cm and 17 cm takes less effort than summing 15 3/16″ and 9 7/8″.
Metric users rarely deal with fractions. Whole numbers and decimals cover most needs.
Construction, engineering, and science fields favor metric for consistency. International standards depend on it.
Dual-scale tapes help bridge the gap. One edge shows inches. The other displays centimeters. Users switch as needed.
For global trade or collaboration, knowing both systems is valuable.
Even in inch-dominant countries, many professionals learn metric. It simplifies complex calculations.
Understanding metric tape measure increments improves versatility.
 Reading Fractional Measurements
Breaking Down 1/16″, 1/8″, and 1/4″ Marks
Reading fractional increments requires attention to line length. Each size corresponds to a specific fraction.
Start with the inch mark. Then look at the tallest unnumbered line. That’s the 1/2″ point.
Shorter but still noticeable lines represent 1/4″ and 3/4″. They divide the inch into quarters.
Even smaller ones stand for eighths. These fall at 1/8″, 3/8″, 5/8″, and 7/8″.
The tiniest lines usually mean sixteenths. They appear between all previous marks. Counting them gives exact values.
To read 5 3/16″, find the 5-inch mark. Move forward three short lines. That’s your measurement.
Some people struggle with addition. Instead of adding 1/16 + 1/16, they count each line. This method reduces errors.
Highlighting key marks with a marker helps beginners. Circle 1/2″ or 1/4″ points for faster recognition.
Practice on known objects. Measure a credit card (3.375″) or smartphone screen. Check your result.
Over time, identifying tape measure increments feels natural. No mental math is required.
This skill boosts confidence in any measuring task.
Dual-Scale Tapes and Conversion Tips
Using Both Systems Effectively
Many modern tape measures display both imperial and metric units. One side shows inches. The other lists centimeters.
These dual-scale tools support international projects. Builders, engineers, and crafters benefit from the flexibility.
To convert between systems, know basic equivalents. One inch equals 2.54 cm. Five inches equal about 12.7 cm.
Most users don’t calculate manually. They read directly from the opposite scale. Find the inch mark. Look across for the cm value.
Some tapes align increments closely. This allows visual matching without conversion.
When precision matters, use a conversion chart. Keep it in your toolbox or phone.
Avoid rounding too early. For example, 15 7/8″ is not exactly 40 cm. It’s closer to 40.3 cm. Small differences add up.
Projects using mixed materials—like imported tile and local lumber—require careful conversion. Misalignment ruins fit.
Digital calipers offer instant conversions. However, tapes remain faster for long spans.
Always note which scale you’re using. Labeling your sketch prevents confusion later.
Dual-scale tapes make global collaboration easier.
They expand the usefulness of tape measure increments.
 Common Mistakes When Reading Increments
Avoiding Costly Measurement Errors
Misreading tape measure increments leads to incorrect cuts and wasted materials. One common error is confusing 1/8″ with 1/16″.
Beginners often count lines incorrectly. They skip a mark or double-count. This results in wrong totals.
Another issue involves starting from the hook end. The metal tip moves slightly. Always press it firmly against the surface.
Some users forget that the first inch starts after the zero line. They include the hook in the measurement. This adds extra length.
Parallax error happens when viewing the tape from an angle. The mark appears shifted. Always look straight down.
Measuring over long distances increases drift. The tape sags or bends. Support it in the middle for accuracy.
Using a worn-out tape causes problems. Faded marks or stretched cloth affect readings. Replace damaged tools.
Rushing leads to oversight. Take time to verify each measurement twice. “Measure twice, cut once” remains solid advice.
Writing down results helps. Memory fails under pressure. Use a notebook or voice memo.
Awareness of these pitfalls improves reliability.
Specialty Increments and Features
Unique Markings for Specific Trades
Beyond standard lines, some tapes include trade-specific increments. These enhance efficiency in targeted jobs.
Framing tapes highlight 16″ and 19.2″ intervals. Red numbers or black diamonds mark stud spacing. Carpenters use this daily.
Roofing tapes show rafter angles and pitch conversions. These help layout common slopes like 4/12 or 6/12.
Drywall versions emphasize 48″ marks. Panels are typically 4′ wide. Quick alignment saves time.
Electricians’ tapes list conduit bend radii. These assist in planning wire runs.
Landscapers may use tapes with foot and yard indicators. Large outdoor areas need fewer small increments.
Sewing tapes sometimes include seam allowances. These simplify garment construction.
Magnetic tips hold onto nails or steel beams. This frees one hand during solo work.
Self-locking reels keep the tape extended. Slide the lock button to freeze position.
Illuminated tapes aid low-light conditions. Phosphorescent coatings glow in the dark.
These features build on core tape measure increments. They adapt to real-world needs.
 Maintenance and Care for Accuracy
Preserving Your Tool Over Time
A well-maintained tape measure delivers consistent results. Dirt, dents, and bends compromise its function.
Clean the blade regularly. Wipe off sawdust, grease, or moisture. Use a dry cloth after each use.
Avoid dropping the tool. Impact can bend the housing or misalign the spring. A warped tape won’t retract smoothly.
Store it in a dry place. Humidity causes rust on metal blades. Plastic-coated versions resist corrosion better.
Check the hook movement. It should slide slightly to account for inside and outside measurements. If stuck, clean around the base.
Never force the tape back. Let it retract naturally. Slamming damages internal components.
Inspect for stretching. Compare against a known ruler. A stretched tape gives false readings. Replace if inaccurate.
Keep the case free of cracks. Broken housings expose delicate parts. Debris enters easily.
Wind the tape slowly. Fast retraction wears the spring over time.
Replace worn tools promptly. Accuracy affects every project.
Proper care extends life and ensures trust in your measurements.
Frequently Asked Questions About Tape Measure Increments
Common Concerns Answered Clearly
Why does the hook move? It slides to compensate for thickness. This allows accurate inside and outside readings.
How do I read 3/16″? Find the third short line after any inch mark. Sixteen lines fit in one inch.
Can I trust laser tapes instead? Lasers work well for long spans. But they fail on uneven surfaces. Traditional tapes remain reliable.
Do metric tapes have fractions? No. They use whole numbers and decimals. Millimeters replace 1/16″ or 1/8″.
What does the black diamond mean? It marks 19.2″ spacing for engineered floor joists. Used in advanced framing.
Is 1/32″ common? Rarely. Most tapes stop at 1/16″. High-end models may include finer marks.
Can sunlight damage my tape? UV exposure fades printed numbers. Store in shade when possible.
These answers clarify everyday issues.
 Final Thoughts: Mastering Tape Measure Increments
Knowing how to read tape measure increments transforms your approach to building, crafting, and repairing. Precision begins with understanding each line and number. Whether you use imperial, metric, or both, clarity prevents waste and frustration.
From DIY shelves to professional construction, accurate measurement is essential. The smallest error compounds quickly. Learning tape measure increments pays off in every project.
With proper care and regular practice, you’ll develop speed and confidence. You’ll avoid common mistakes and improve outcomes.
Ultimately, the humble tape measure remains one of the most important tools. Its increments guide success. So, take time to master them. Because in the end, why is my project failing? Often, the answer lies in the tape measure increments.